
How to Get Started With Homestyler, A FREE Floor Planning Tool
I absolutely love the space planning part of an e-design project. In fact, it's often where I start when I'm in the early stages of the design process. It helps me know exactly how the room will be laid out and gives me a sense of the scale of the pieces I'll be looking for once I move into the sourcing phase.
I highly recommend starting with this step so that you can streamline your search for those perfect pieces of furniture and decor. If you know the approximate dimensions of what you need, you can rule in or rule out pieces quickly.
Let's say you're on the hunt for a pair of accent chairs for a living room. Thanks to your space planning in the early phase of the process, you know they need to be around 32"W x 35"D. Now, as you search for the specific chairs, you can take a quick peek at the dimensions to see if they're in your target range. If yes, add them to the list of potentials. If not, you can move right along to find some others!
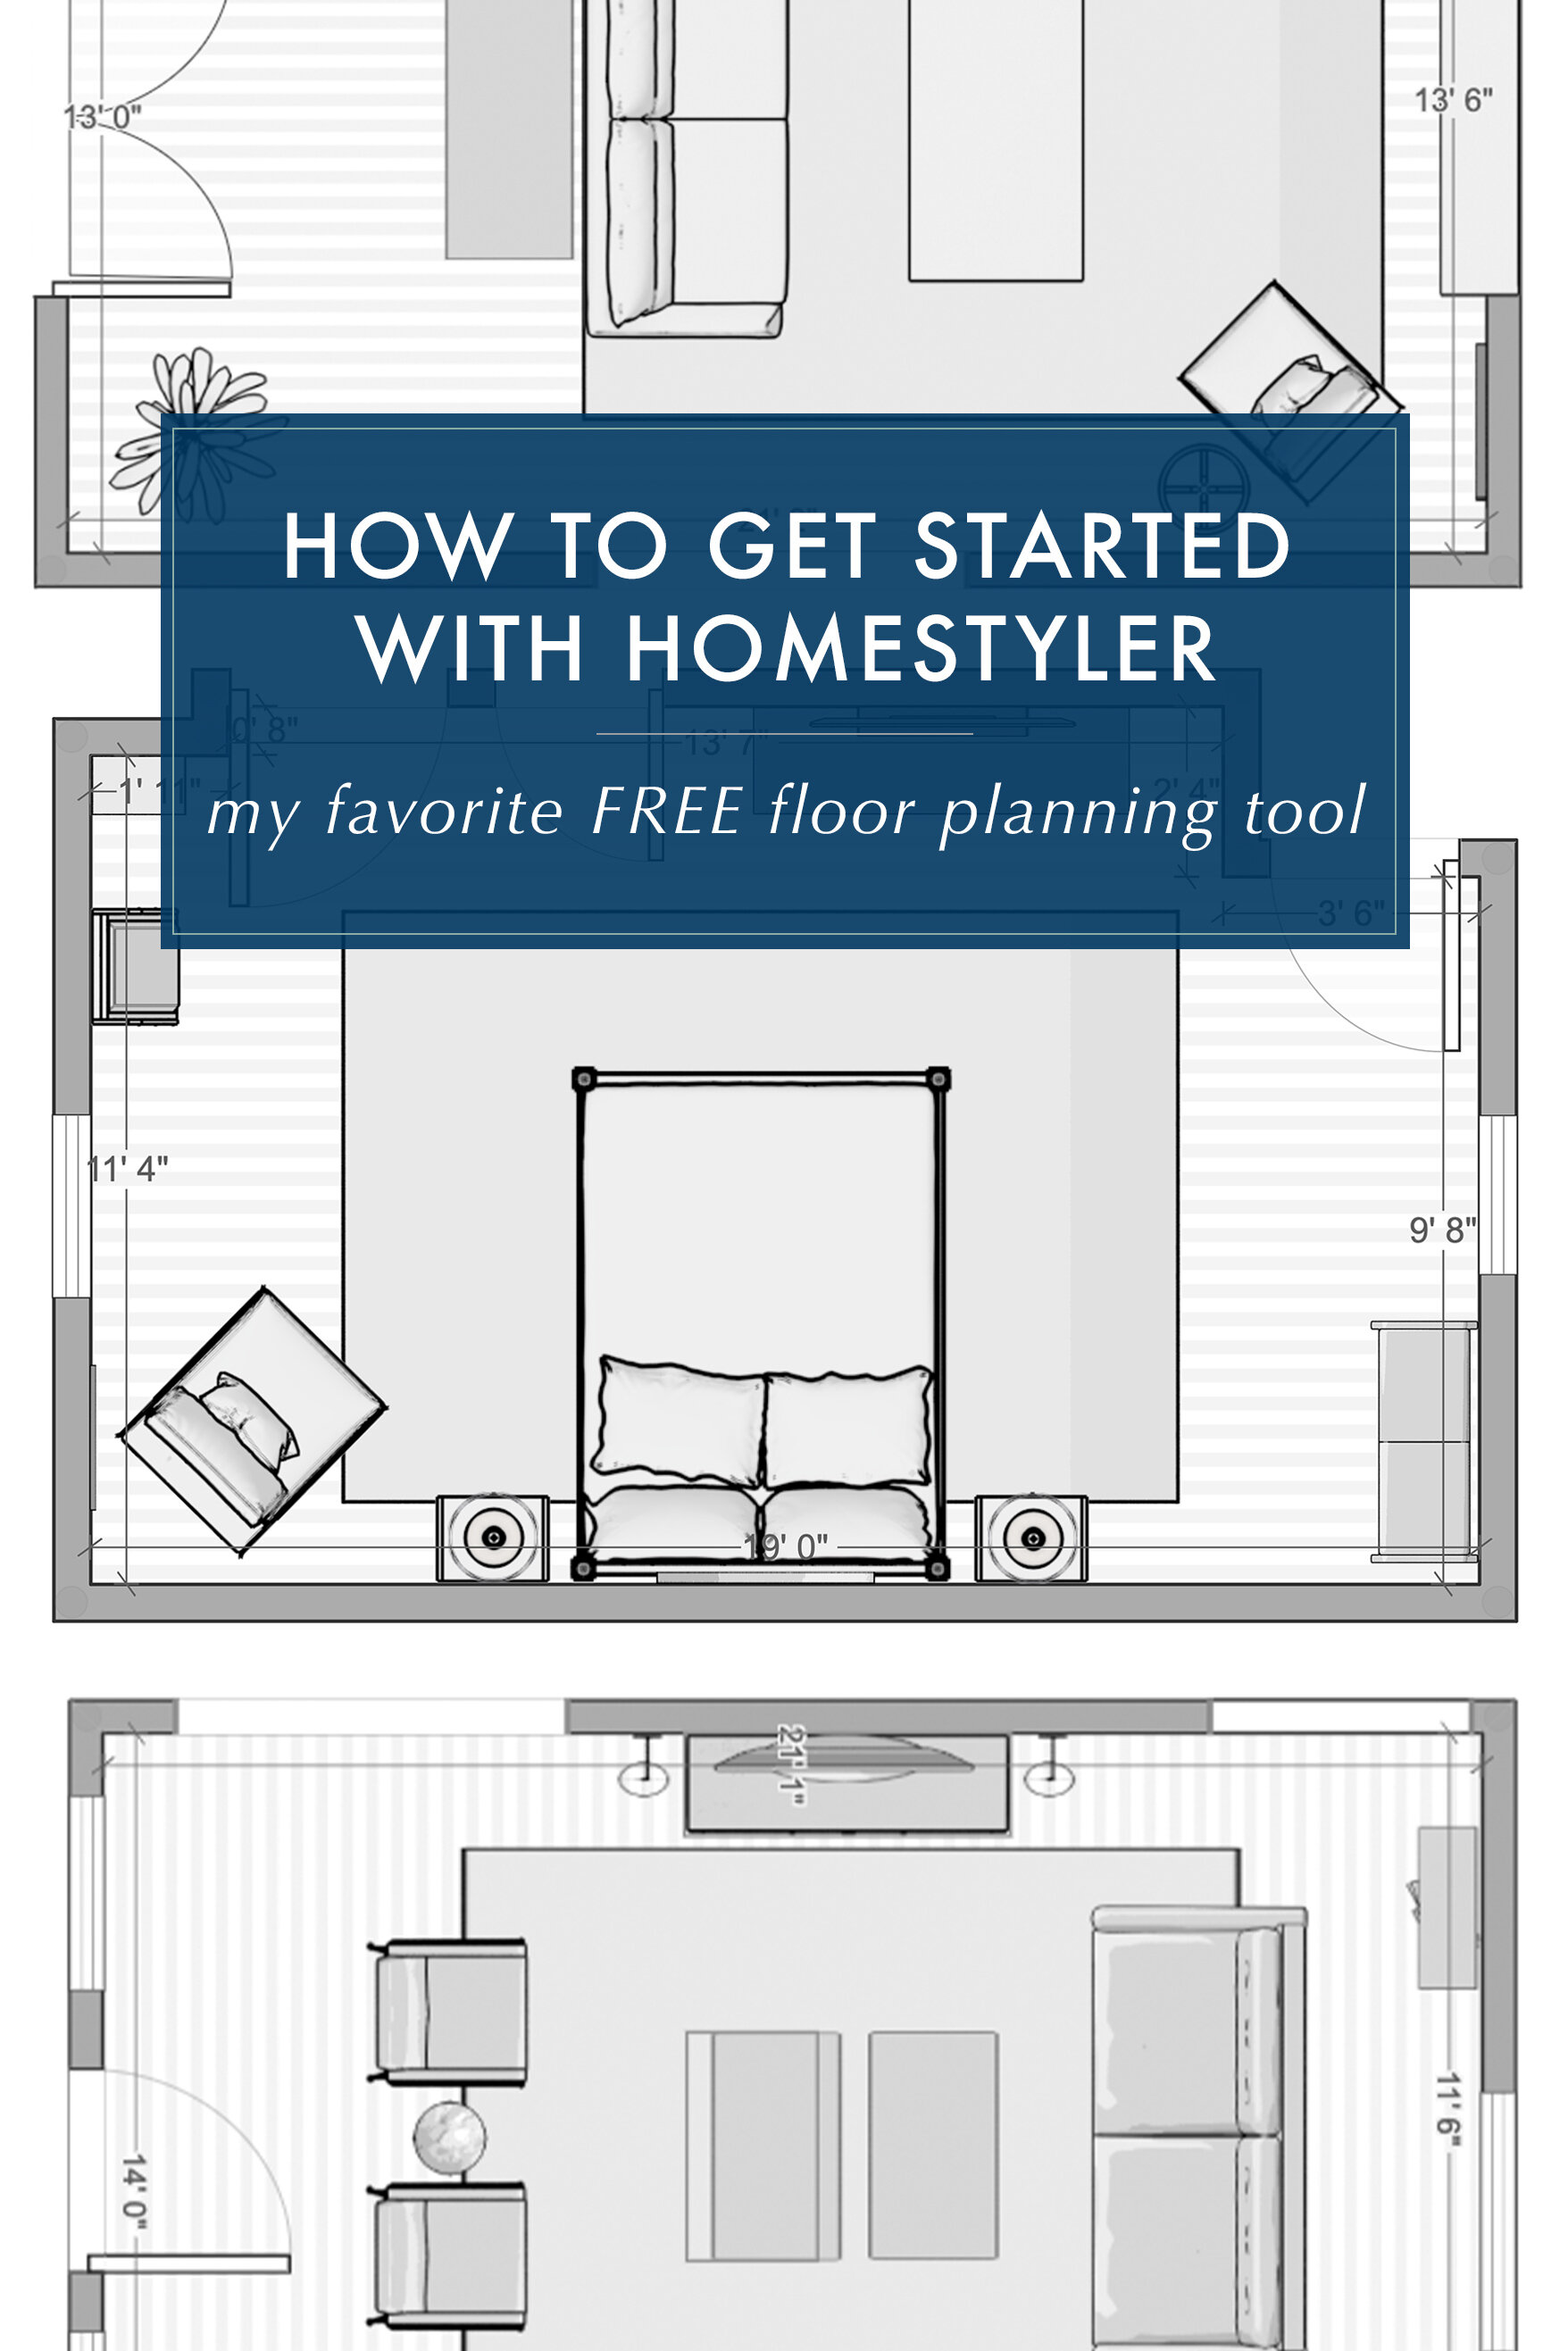
People often ask me what my favorite floor planning software is, and currently, I'd have to say Homestyler. It's one I recommend in my courses because it's pretty intuitive to learn, it's FREE, and it even has 3D capabilities so you can really get a sense of how everything looks in a true-to-life format. (On a side note, I typically only share the 2D view with my clients and show them a more life-like “3D” rendering of their space by creating a design board in Photoshop so I can use the exact pieces I’m recommending for their home.)
To get you started in the software, I created a quick tutorial showing you how I use Homestyler to draw a floor plan. If you've never used it before, hopefully this will help you learn the basics and you can get to work on creating your own floor plans in there! You can watch it here or if you’re having trouble seeing the video, click the button below to head to the original recording!
And if you’d like to check out what an example room looks like rendered in Homestyler, watch the quick 21 second video below of a living room I designed recently!
As with any software, it does have pros and cons - here are a few that stick out to me:
PROS:
It’s easy to learn
It’s FREE
It has a large library of furniture and decor to choose from that you can resize to match your specific pieces for the project
You can quickly switch back and forth between 2D and 3D views without doing any actual rendering
CONS:
It can be challenging to find an item that matches your specific piece exactly (I don’t typically try - I just work to get close enough!)
The furniture and decor library sometimes has “wonky” items that you can’t change/update
It doesn’t have a lot of architectural specificity - i.e. you’re stuck with fairly basic room structures and details
Overall, I really love this tool for e-design. It’s simple, quick, and easy to learn. I’m pretty tech-savvy, but I venture to guess that just about anybody could hop into the software and pick it up pretty easily just by playing around in it!